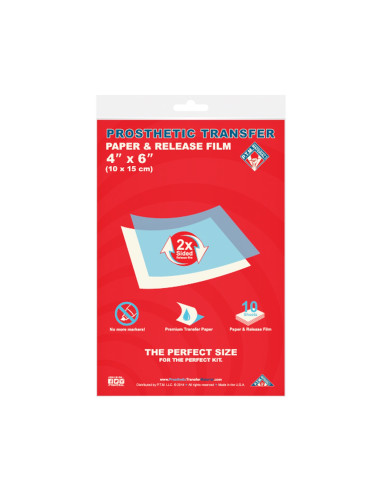
P.T.M. - Transfer Paper & Release Film 10-Pack (without adhesive) - transfer Paper with Protective Film 10-Pack (without adhesive)
P.T.M. - Transfer Paper & Release Film 10-Pack (without adhesive) - transfer Paper with Protective Film 10-Pack (without adhesive)
Transfer paper and protective film are used for transferring wounds and other prosthetics onto the skin. Each package (S, M, and L) contains 10 transparent films and 10 sheets of paper.
Note! P.T.M. - Transfer Paper & Release Film is pure transfer paper for professional use. The paper does not contain adhesive. To stick the prosthetic or tattoo, an acrylic-water-based adhesive should be used. The choice of adhesive depends on the project needs and individual preferences.
Professional advice:
Application - Wounds:
1. If necessary, use an anti-adhesion agent.
2. Cut the transparent film to the desired shape. The film should be cut at least 2 cm larger than the desired wound.
3. Fill the mold negative with the chosen Bondo. Remember to start from the deepest part of the wound, so it can be shaped evenly and without air bubbles. Thinly and evenly spread the edges.
4. Now gently place and press the transparent film back and forth over the mold using a spatula. Ensure that no bubbles form and that you do not press too hard.
5. Now place everything in the freezer for 1-2 hours (depending on the depth of the mold).
6. Once the edges become completely transparent and the transfer wound forms, remove it from the freezer and then from the mold.
7. Use a toothpick to align the edges and remove excess material around the edges. Note: the wound itself should not be completely finished, as it dries in the air (or with a hairdryer). Depending on size and depth.
8. For an ideal wound, it should dry for about 3 days; however, the wound can also be adhered earlier. Pros-Aide works best for this.
---------------------------------------------------------------
Tattoo Application:
1. Print the design on a LASER PRINTER.
2. Remember to mirror the design.
3. Clean and degrease the skin where the tattoo will be applied.
4. Spread a thin layer of water-based acrylic adhesive in the tattoo application area.
5. Apply the transfer paper to the skin (printed side to the skin).
6. Soak the paper; after proper soaking, it will slide off the skin, leaving the ink transferred to the adhesive.
7. Wait for the water to dry/evaporate - do not rub with a tissue or cotton pad - THE ADHESIVE is still sticky.
8. Use Pros Aide Remover to remove any excess adhesive outside of the tattoo.
9. Thoroughly cover the surface of the tattoo (along with the adhesive edge) with TATTOOED! NOW MATTIFIER or completely powder with a transparent powder (not talc), e.g., Ultra HD powder Make Up For Ever. Tattooed! Now Mattifier will be more matte than any other powder.
10. Dirt, dust, and fibers from clothing will stick to un-mattened areas.
Manufactured in the U.S.A.
You might also like


